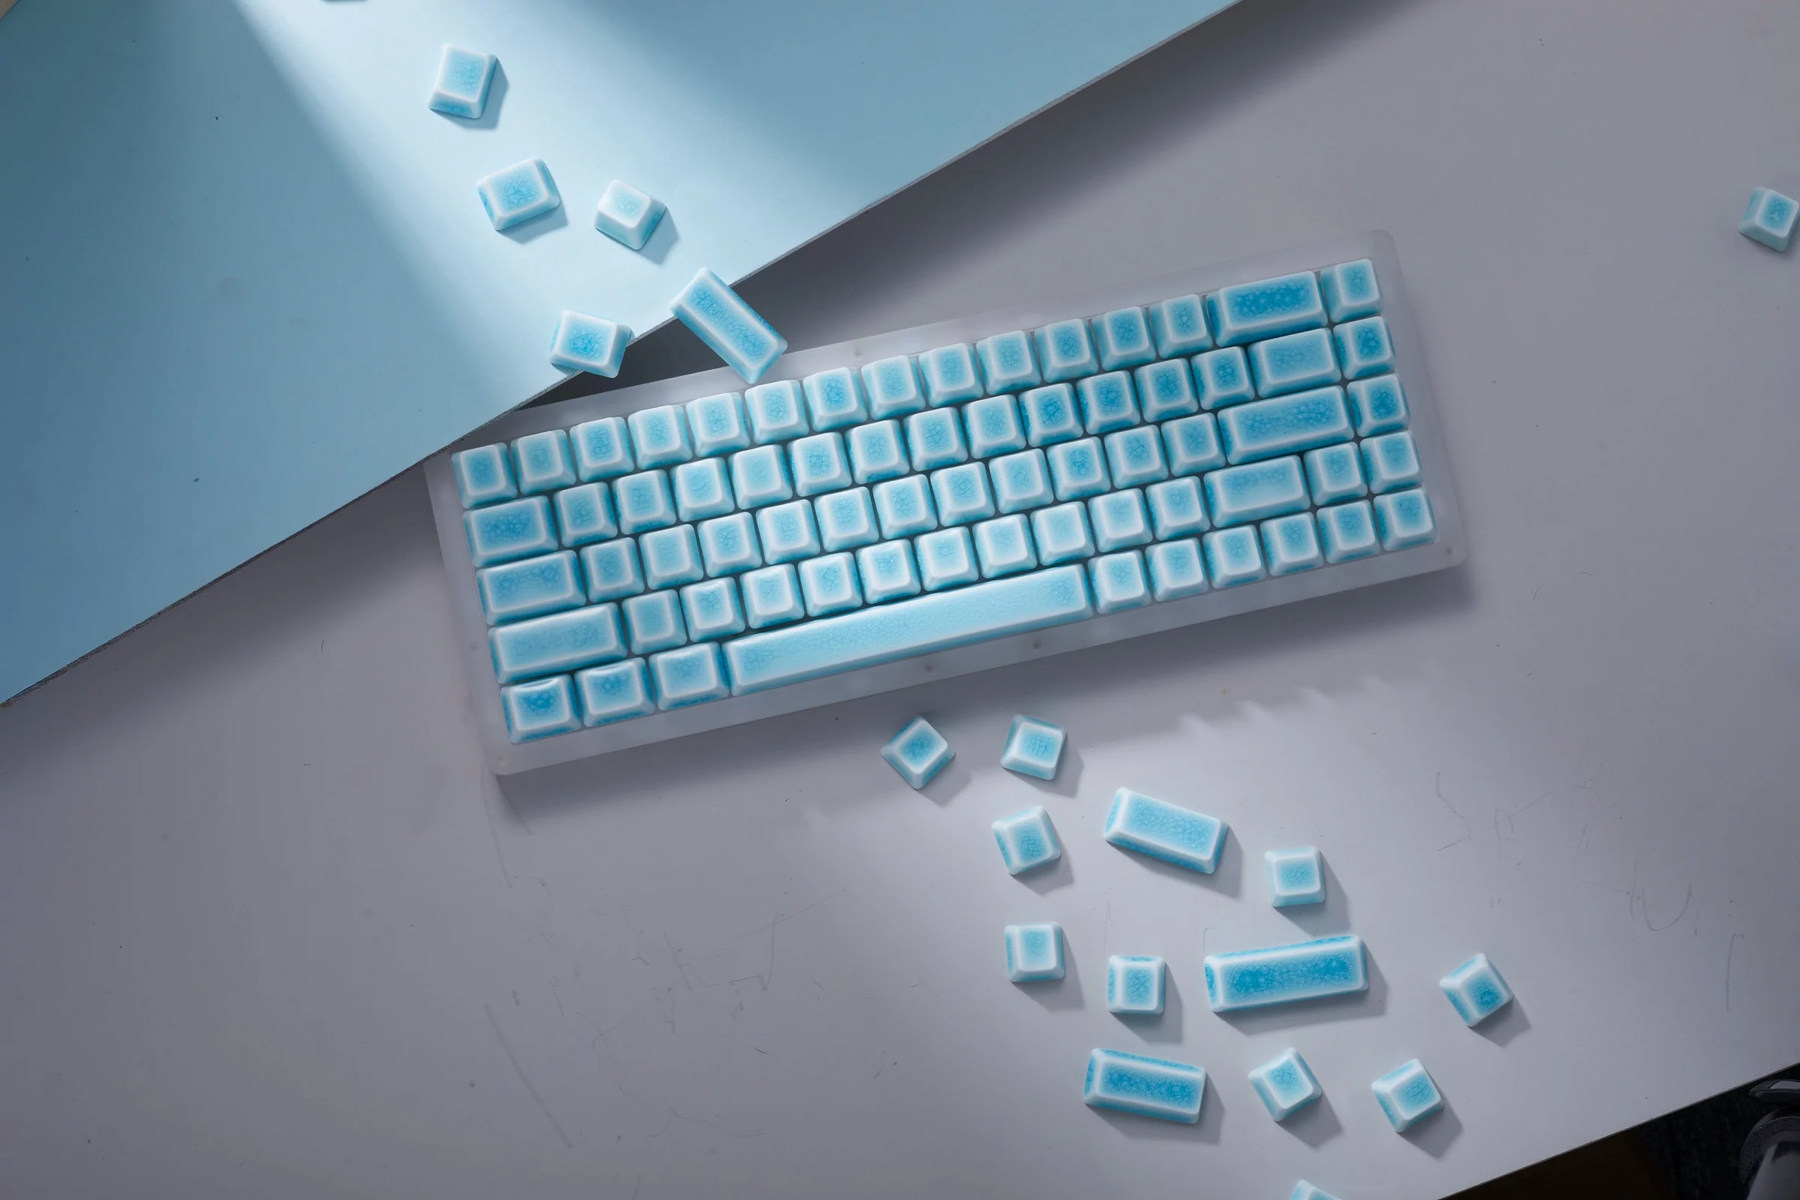
Here’s a sad fact: we’re gross! Our fingers ooze oil. Our skin flakes off. Our body sheds hair as fast as we can grow it. Despite our best efforts to keep our keyboards clean, the reality is that we’re all just grubby little garbage people. Given enough time, our natural processes will reduce a keyboard to the hygenic level of a public bus seat.
That’s why it’s essential to give your keyboard a regular cleaning regimen. We suggest two: a quick clean every two or so weeks and a deep clean every four to six months.
Method 1: Quick Clean
Use this method to remove germs, debris, dust, and hair, and also to prevent the build-up of grime. Using this method every two weeks will extend your keyboard’s longevity.
- Unplug your keyboard from your computer.
- Turn your keyboard upside down and gently tap on it over a trash can.
- If you have canned air, spray it between and beneath the keycaps to remove dust, hair, and debris.
- If you have a vacuum cleaner with an attachment for small applications, suck out hair and other debris from between the keys.
- If you have keyboard cleaning gel, use it to remove debris from hard-to-reach places like beneath and between the keycaps.
- Spray a small amount of all-purpose cleaning solution on a microfiber cloth (do not spray anything directly on your keyboard!) and wipe your keyboard down with it.
- If there’s grime in hard-to-reach spots, like between the keys, wet a q-tip with an all-purpose cleaning spray and use it to wipe off the grime.
- Wipe your keyboard dry with a microfiber cloth.
Method 2: Deep Clean
Use this method to thoroughly clean your keyboard of everything from germs to deep-set grime. We recommend doing this every four to six months. Because this process involves lengthy soaking and drying times, please read all of the directions before starting!
- Unplug your keyboard from your computer.
-
Remove your keycaps with a keycap puller.
- Mix a solution of warm water and dish soap in a large bowl. Soak your keycaps in it for three to four hours.
-
Remove your switches with a switch puller and set them aside. As your switches are protected by your keycaps, they shouldn’t be dirty. If they are, you can brush them with a dry Q-tip or use canned air to remove particulates. You should never use liquids to clean your switches.
- Turn your keyboard upside down and gently tap on it over a trash can.
- Either use a hand vacuum to vacuum up the debris or use a can of compressed air to blow it away. You can also use a Q-tip or tweezers to remove debris.
- Spray a small amount of all-purpose cleaner on a microfiber cloth and wipe the non-electronic parts of the keyboard with it. (You should never spray anything directly on your keyboard.)
- Wipe your keyboard dry with a microfiber cloth.
- Reinsert your switches into your keyboard.
- After they’ve soaked for three to four hours, remove your keycaps from the soapy water and rinse them in clean water.
- Wipe your keycaps dry with a microfiber cloth. Because the plastic can absorb water, it’s best practice to allow the keycaps to dry for 48 hours before reassembling your keyboard.
- Reassemble your keycaps on your keyboard.
